How To Submit An Allocator Application
1. Go tohttps://github.com/filecoin-project/Allocator-Registry and navigate to the "Allocators" folder

2. Find that was used for your allocator json and open it

3. Keep it in another tab

4. We would also recommend, you open wherever you had details of your original application. You will need to provide information about:
- Data Diligence
- Client Diligence

5. Go to https://github.com/orgs/filplus-bookkeeping/repositories you will find there a v6_template which is a template repository for allocator bookkeeping

6. Click "Use this template"

7. Click "Create a new repository"

8. Choose your organization under "owner"

9. Give the repository name, ideally something that corresponds to "<Your Allocator Name> Bookkeeping". Make sure it is public, so that clients can access it.

10. Click "Create repostory"

11. Now, in your organization you will have a repository for bookkeeping for your allocator with a template for what should go into readme and a template for issues that clients can use to apply for DataCap from your allocator.
You have 2 weeks to edit the Readme and put in the correct information, so now you can just proceed to application If you wanna learn how to do the edits, click here

12. In your bookkeeping repository click the pencil icon

13. Edit this file replacing all the "hints" in italics with relevant information. Don't change the headers. Then click "commit changes" (the button will be clickable once you make changes).

14. Now go to settings

15. Click Scroll down the first page and choose "Set up templates"

16. Click "Preview and edit"

17. Again, click the pencil icon to edit

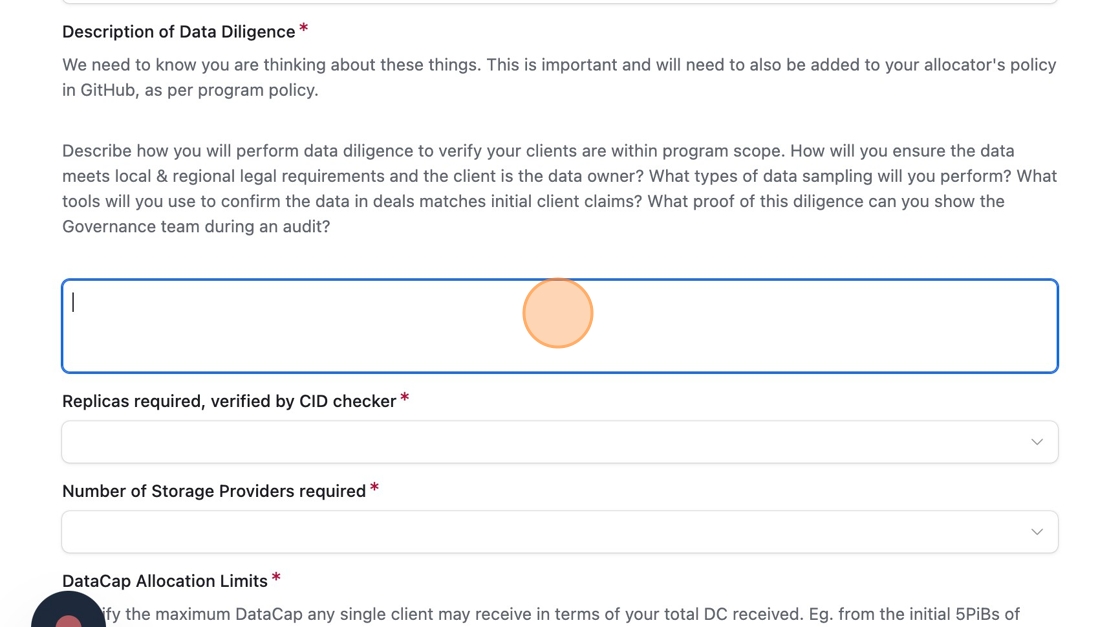
18. Now you can change the questions and the template for the issue that the client's should answer when applying for DataCap from your allocator. You can completely change this to fit your needs, the questions here are an example only. We suggest leaving the "Template Name" and "Issue Default Title" unchanged.

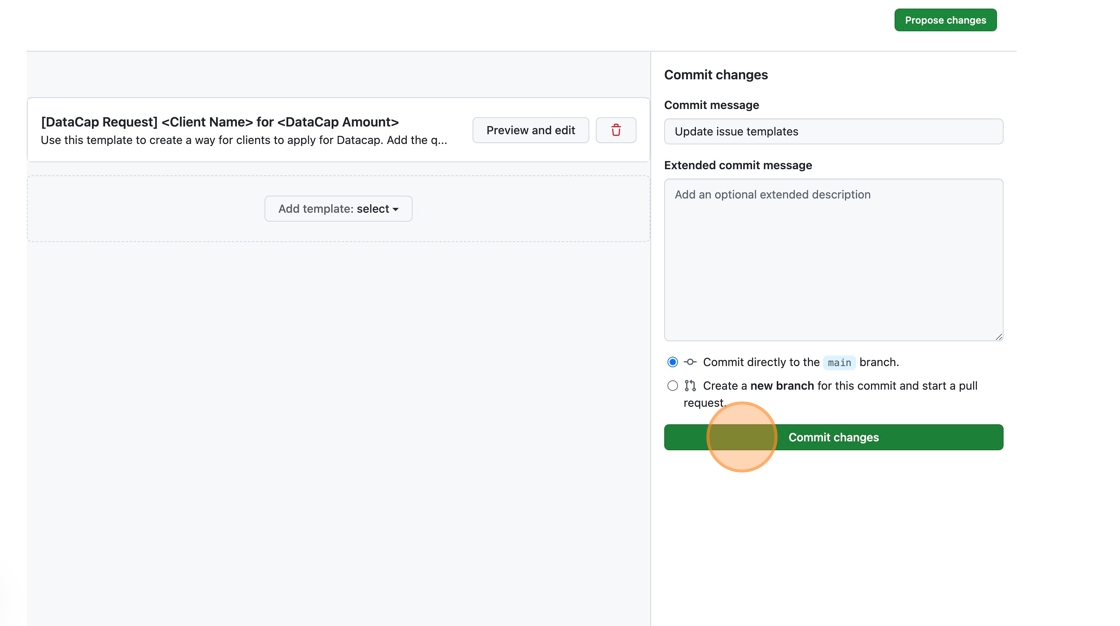
19. Once you are done click "Propose changes"

20. Click "Commit changes"
21. Thats it! now when your clients want to apply, they can click new issue, choose the template and answer the questions

22. Go to apply.allocator.tech and "Visit Dashboard"

23. In the top right you will see "Apply To Become An Alloctror"

24. This will open an airtable allocator form. Start by giving your github user ID.

25. If you are applying as an existing allocator choose yes, and then choose the json that corresponds to your allocator. This is important as it will allow us to populate some of the info

26. Click "996.json"

27. Remember that json that you have opened in another tab? You can now use it to copy paste some of the info like your organization address or the multisig. That is, of course, if nothing changed (we only recommend changing the multisig if you do not have access to it and do not control it. Choosing a new multisig will delay your process and will require justification in the PR to the governance team.

28. You can, however, adjust your Allocator Pathway Name or the Organization Name if things changed since

29. Now this is important. This is the main change in this iteration of the program. We ask you to choose the type of Audit that you will be subject to, not the pathway think you should be on. The audit is based on the style of allocator you want to run or the type of data you will be storing. You can read more in the application

30. Depending on the audit you choose you will need to accept the rules of that audit. This is to increase transparency of how compliance is checked.
Also, please put KPIs or metrics that you want to achieve. You will be measured against them during the refresh/audit.

31. If nothing changed you can copy the Data and Client Dilligence info from your original application (if you are an existing allocator). But re-read it to make sure it still makes sense!
32. Put in your Github Bookeeping repo link. If you haven't created one yet, see instructions here

33. Now you will go through a bunch of T&Cs. Please read them and approve them Unfortunately, if you don't agree we won't be able to process your application, but please do create an issue in Allocator Governance Github, if you want to discuss it.

34. Almost there! Just some contact info for you and your team and we are done!

35. Make sure to accept the KYC verification and give us correct passport names and country of residences for everyone you will be managing the allocator, and you are done! Click submit.

36. Go back to apply.allocator.tech/dashboard and you will see your application in KYC phase. You can click on the PR number it will take you to the Github PR with your application. This PR will remain open throughout your application and merged once your allocator is approved.

37. The PR will have basic information.

38. If you scroll down you will see what is the latest action taken/phase of your application

39. Similarly this will be showed by the lable in "Phase" Column. For now, make sure you submit your KYC.

40. Once you click the link it will take you to a Zyphe page that is our KYC partner. Enter the email you used on the application. Click continue

41. Make sure you have access to the mail you gave and click the link in there to verify your account.

42. Once you verify your account you will need to use your phone to proceed to KYC check.

43. Open the QR code on your phone, and choose the type of document you will be using

44. Select the country of the origin of your document

45. Get your document ready!

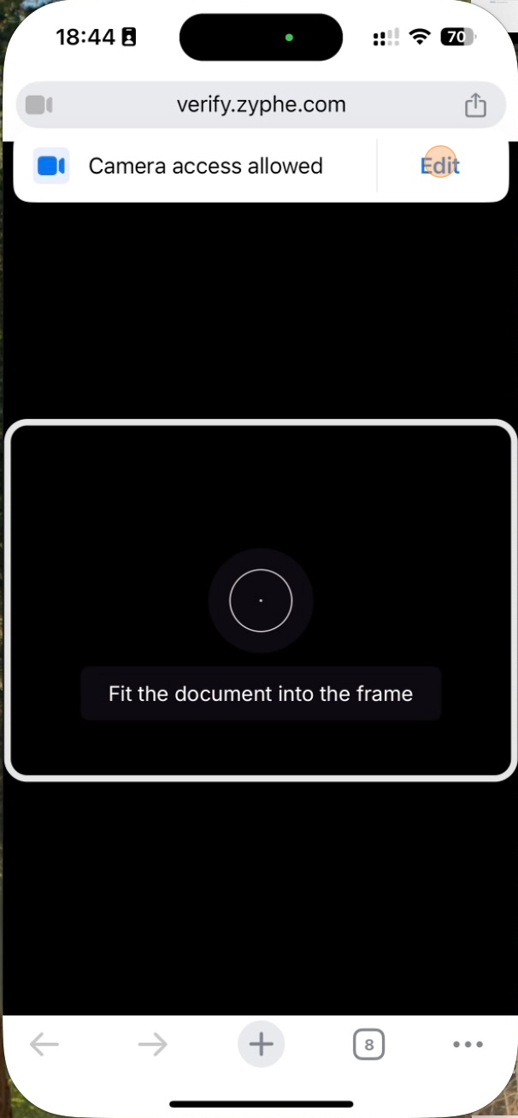
46. Remember to give Zyphe access to your camera

47. Now start scanning your document
48. Time for a selfie!

49. Follow the instructions and you should be done

50. If you now go to the dashboard you will see that your application is under Governance team review

51. Go to allocator registry and you will see update to your application there as well

52. In the Dashboard you will see a decision on the path where the governance team approved your application

53. Same in the Allocator Registry

54. Finally, when the Datacap transfer is executed, the dashboard will be showing DC_Allocated Phase and Allocator Registry will be updated.
NOTE For existing allocators under the MDMA path, the "DataCap" will show the amount you have been allocated in the last audit, not the amount you currently have. This is a static column, not one for tracking the amount of DC an allocator used. Go to datacapstats.io/allocators/<your allocator id> to see info about your DC usage.

55. Lets get rolling!
