Netbeans development environment
This page contains information about getting set up in and using Netbeans to develop RESOLVE.
We assume you've installed Netbeans (the Java SE version should be fine), installed git, and forked from the upstream repository.
Open Netbeans and it'll probably look a lot like this:

You'd like to "clone" our upstream repository onto your local machine so you can work with it. Select Team > Git > Clone.

Get the URL from our github project page:

And paste it into the Repository URL box:
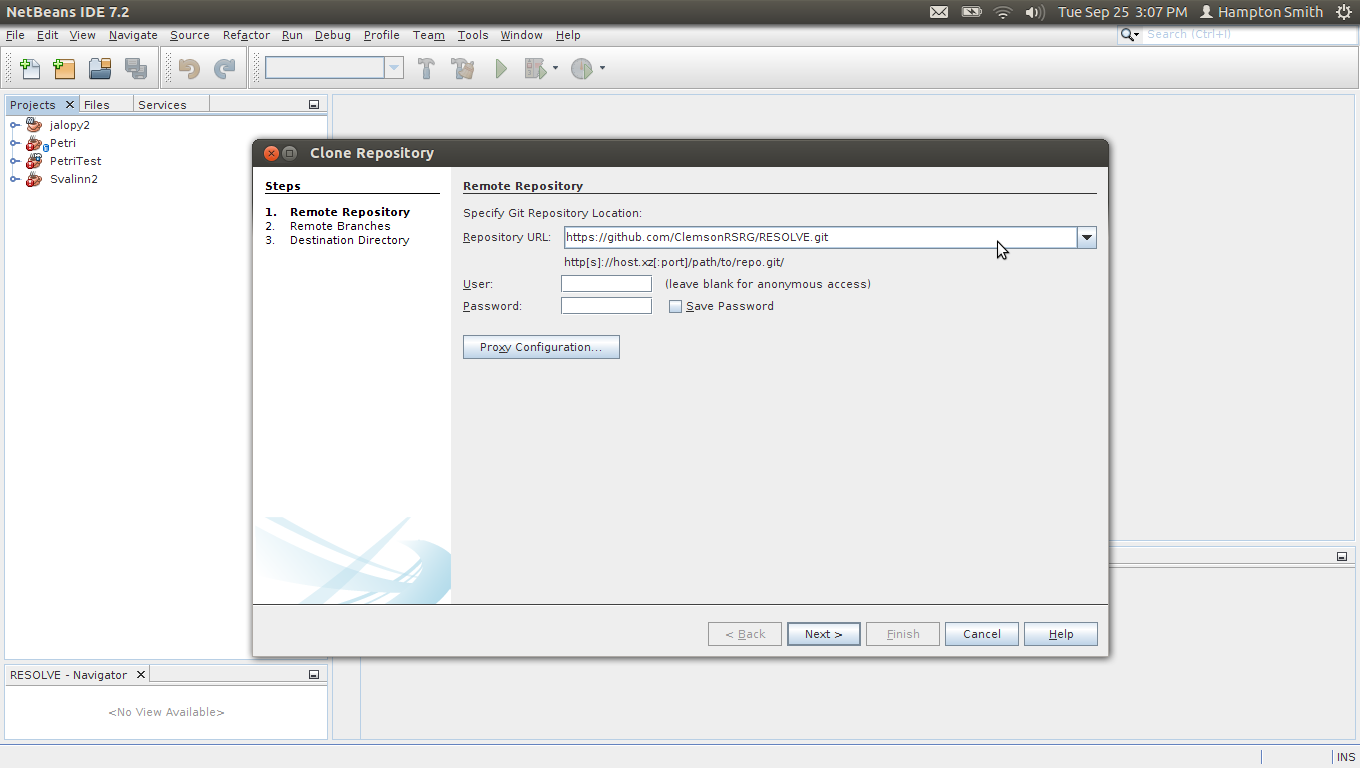
There's no need to provide your username and password at this point. Our git workflow means you'll only ever fetch (i.e., pull down code) from this remote--never push (i.e., upload code).
Then click Next.
Netbeans will want to know which branches of the repository you want to grab. Just master should be good enough for most developers' needs.

Click Next
In the git world, all repositories are created equal--which means your local clone is just "as good" as the remote repository. Netbeans therefore wants some information about the relationship between your local version of the repository and the remote.
The Parent Directory field is just asking where, locally, the root of the repository should go. The Clone Name field will simply determine the name of the folder that's created at that root. So, for me, by default, my local clone's going to go into: /home/hamptos/NetBeansProjects/RESOLVE/. The default is probably fine, but you can change it if need be (in particular, if you're going to have multiple local clones of the upstream repository,